Merchant Setup Guide
This guide explains the full B2B Affiliate System workflow: register inworld, connect your cloud inventory, setup payment vendor, login to the platform, configure your store, add products, and start selling.
Designed to Avoid Duplicate Work
Two common Second Life setup problems are solved before you start creating products.
Current Setup
B2B Affiliate System
Inworld Setup
Start inside Second Life. Register, connect cloud inventory, and activate payment handling.
Rezz Registration Kiosk
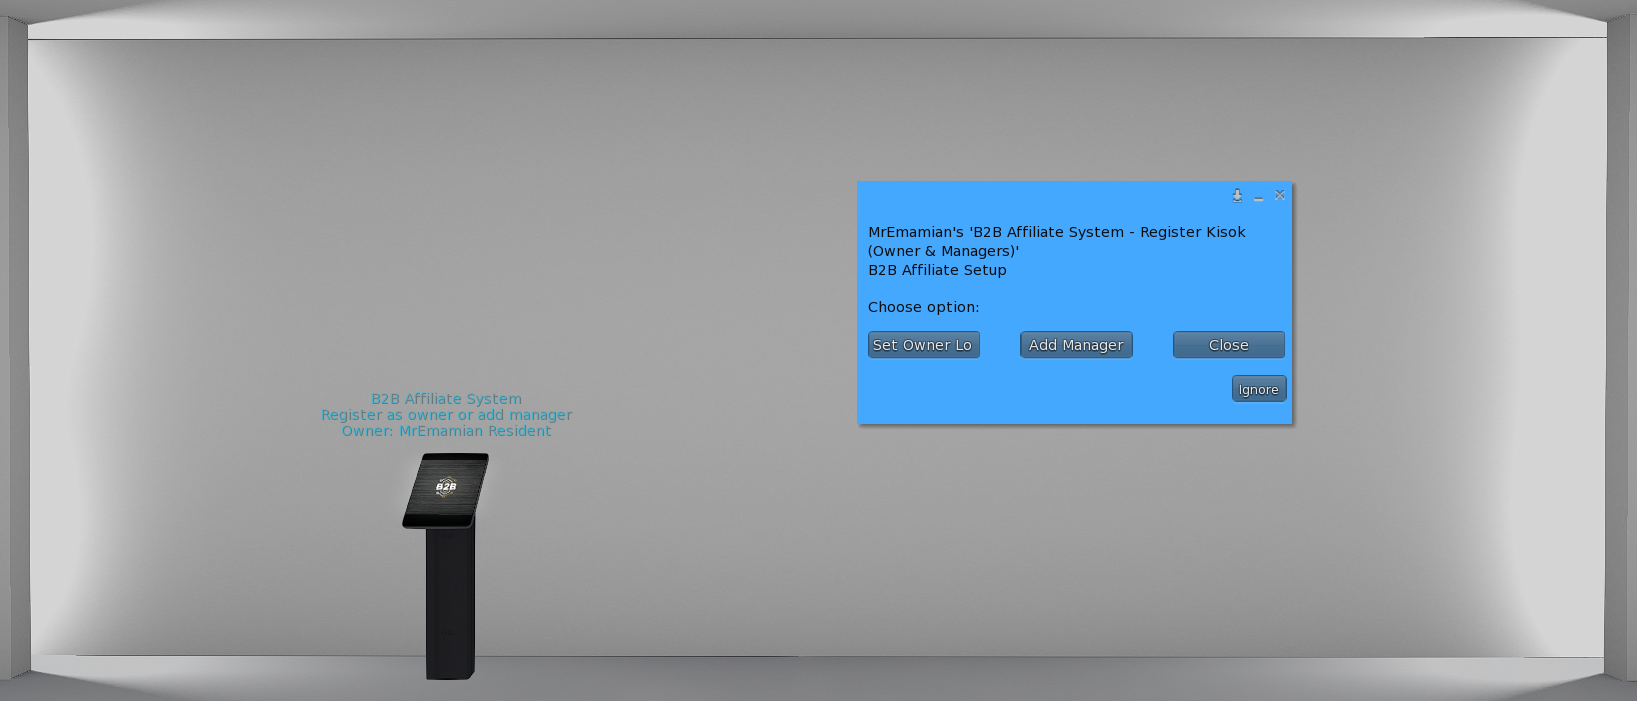
Rezz the B2B Affiliate System Registration Kiosk. Click the kiosk and choose Set Owner Login. This creates the main merchant login for your Affiliate Dashboard.
Create Username & Password
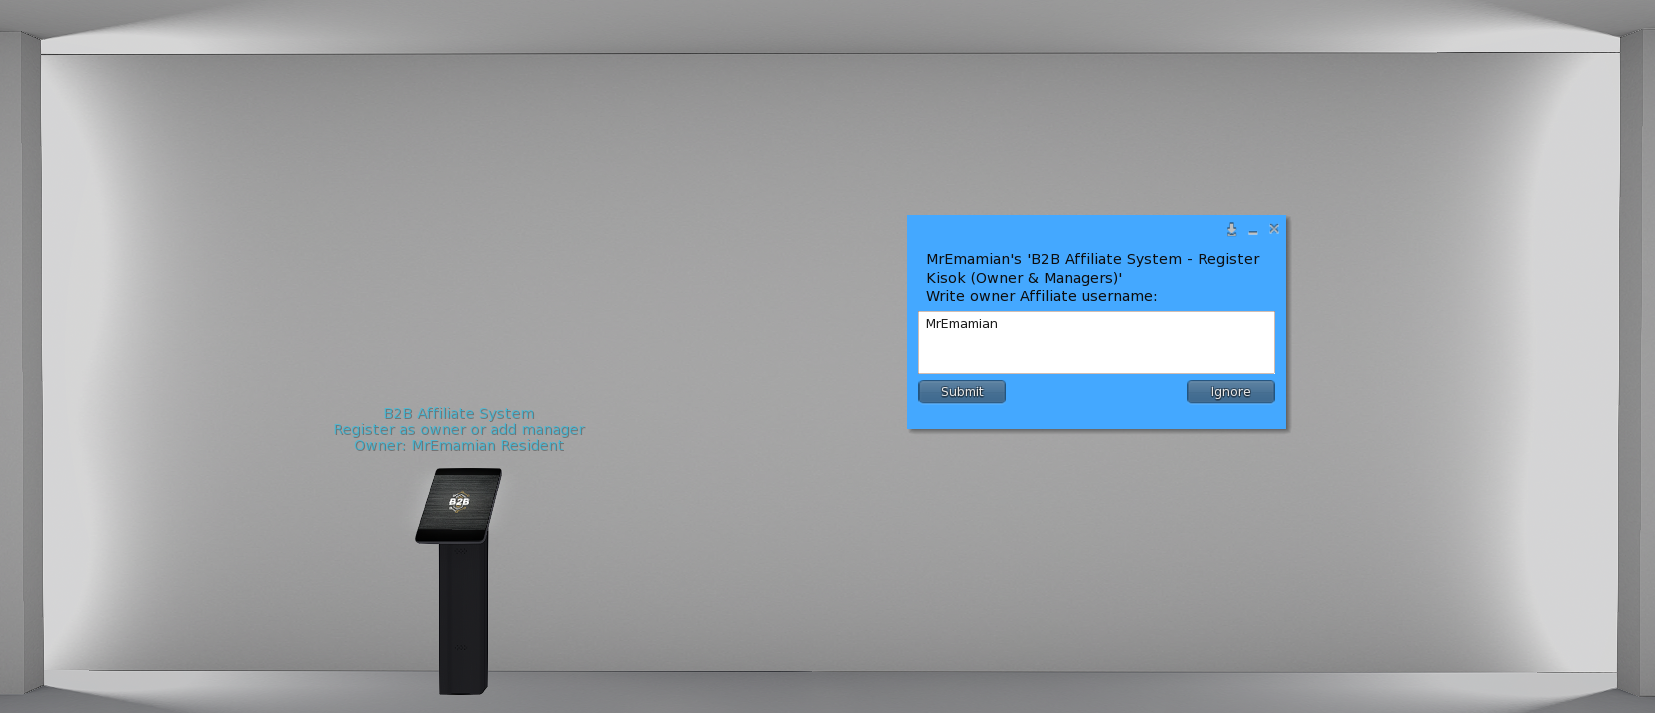
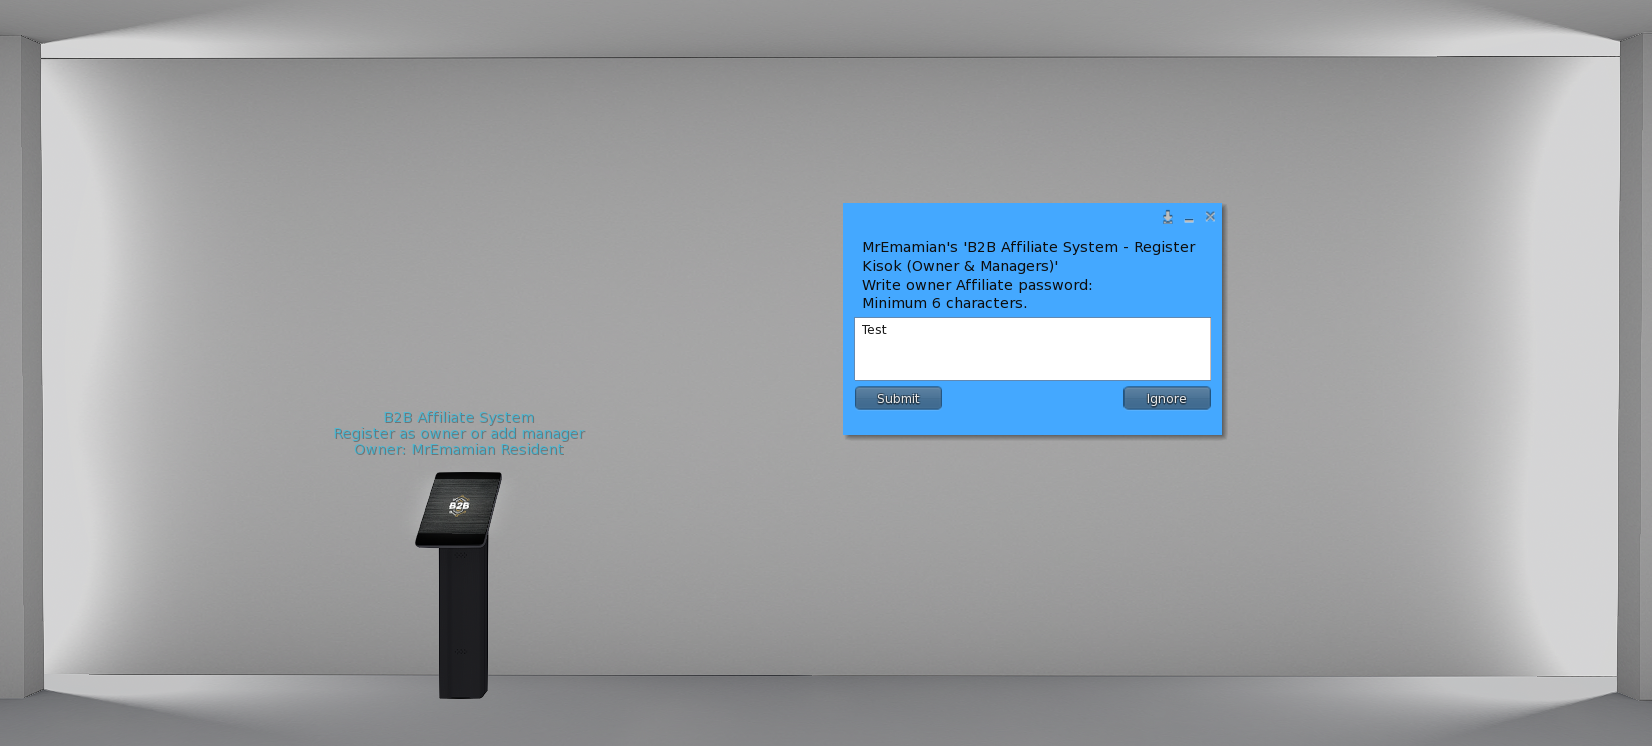
Enter your affiliate username, then create a password. You will use these details later to login to the web platform.
Rezz Central Inventory Cloud
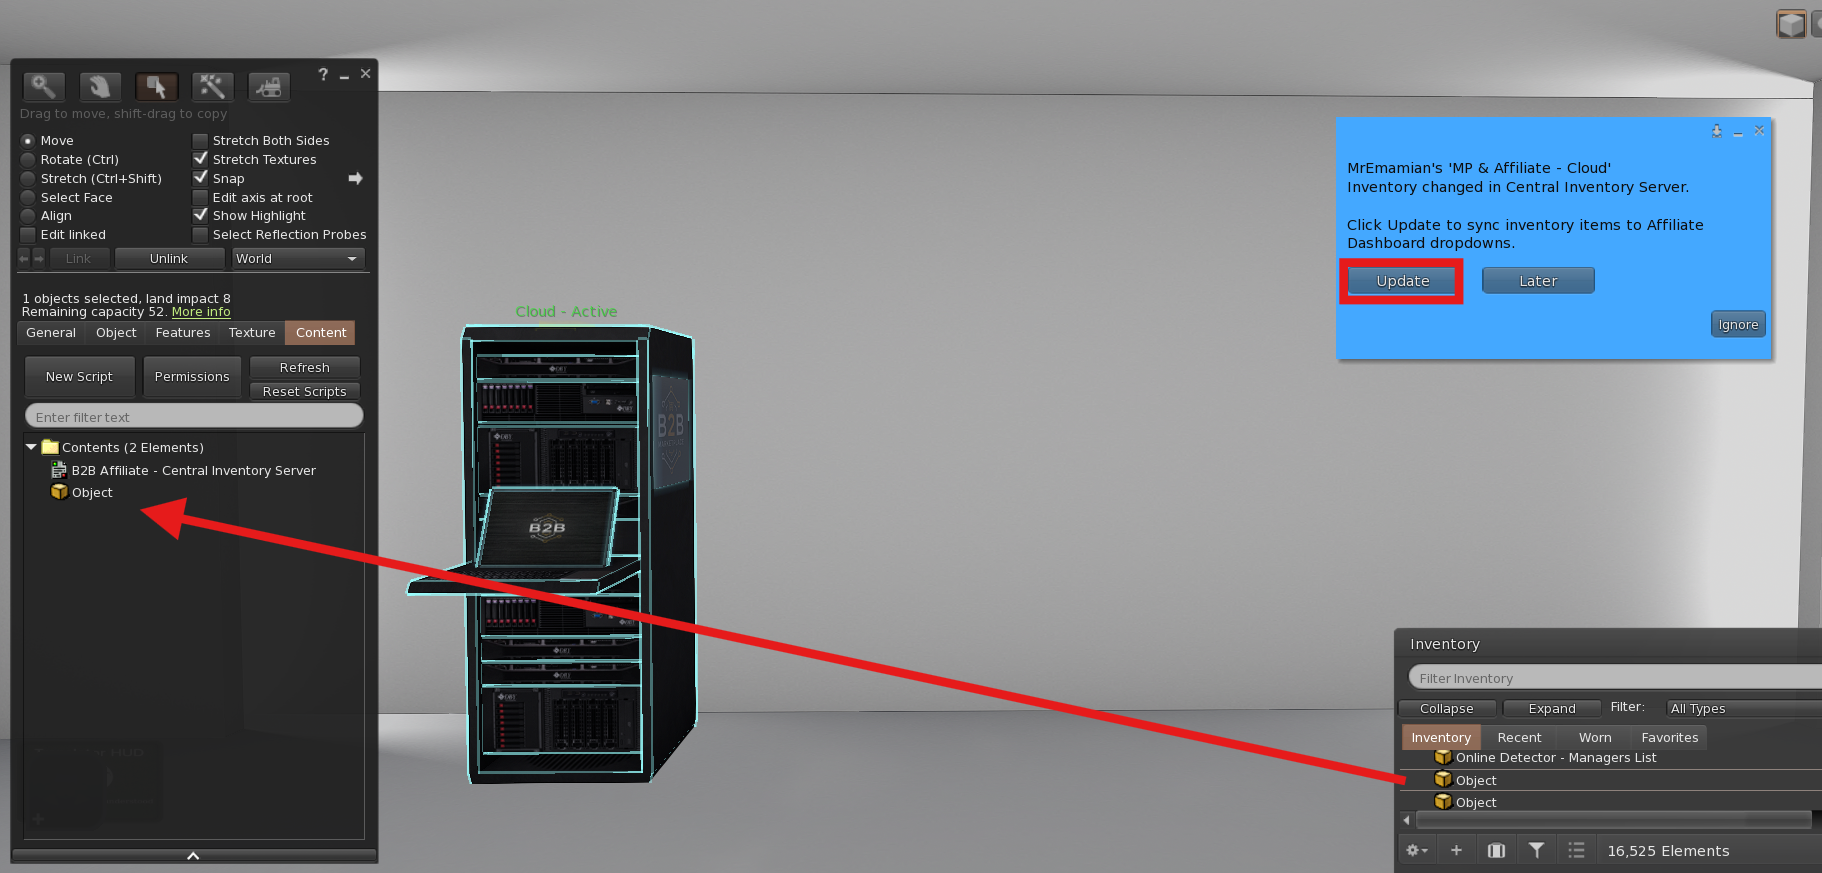
Rezz the B2B Affiliate - Central Inventory Server. Add your deliverable objects into the server contents. Click Update to sync items with the dashboard dropdowns.
Rezz Payment Vendor
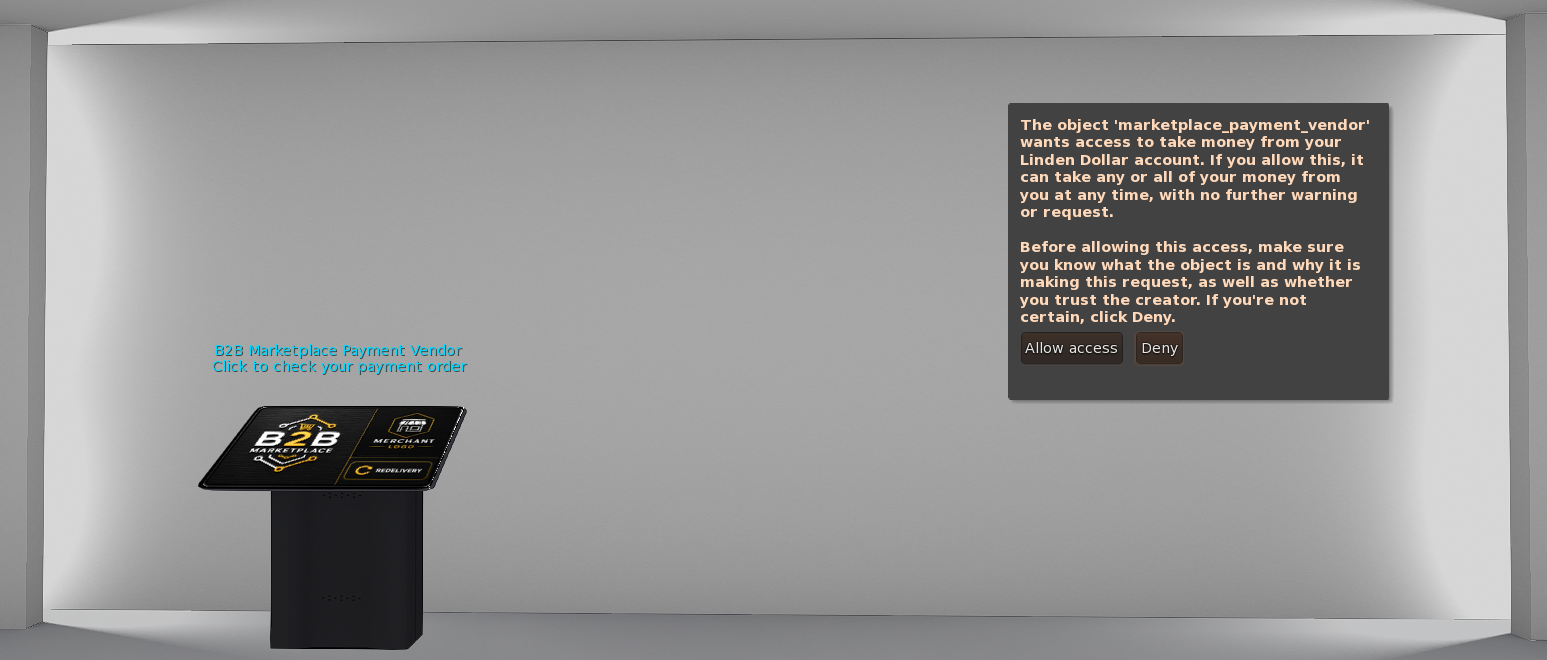
Rezz the B2B Marketplace Payment Vendor. When Second Life asks for debit permission, click Allow access. This is required so the vendor can receive payments and process delivery.
Login to Platform
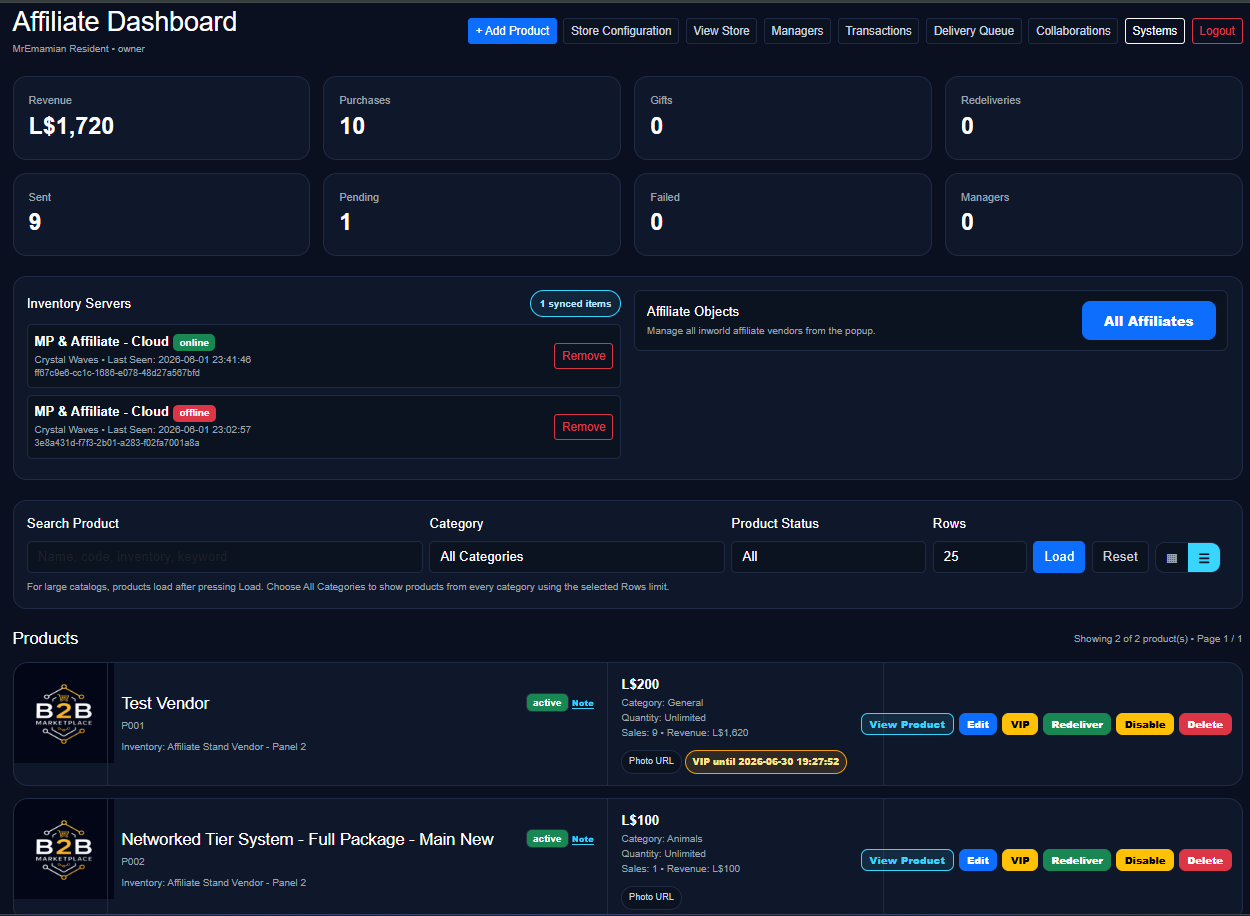
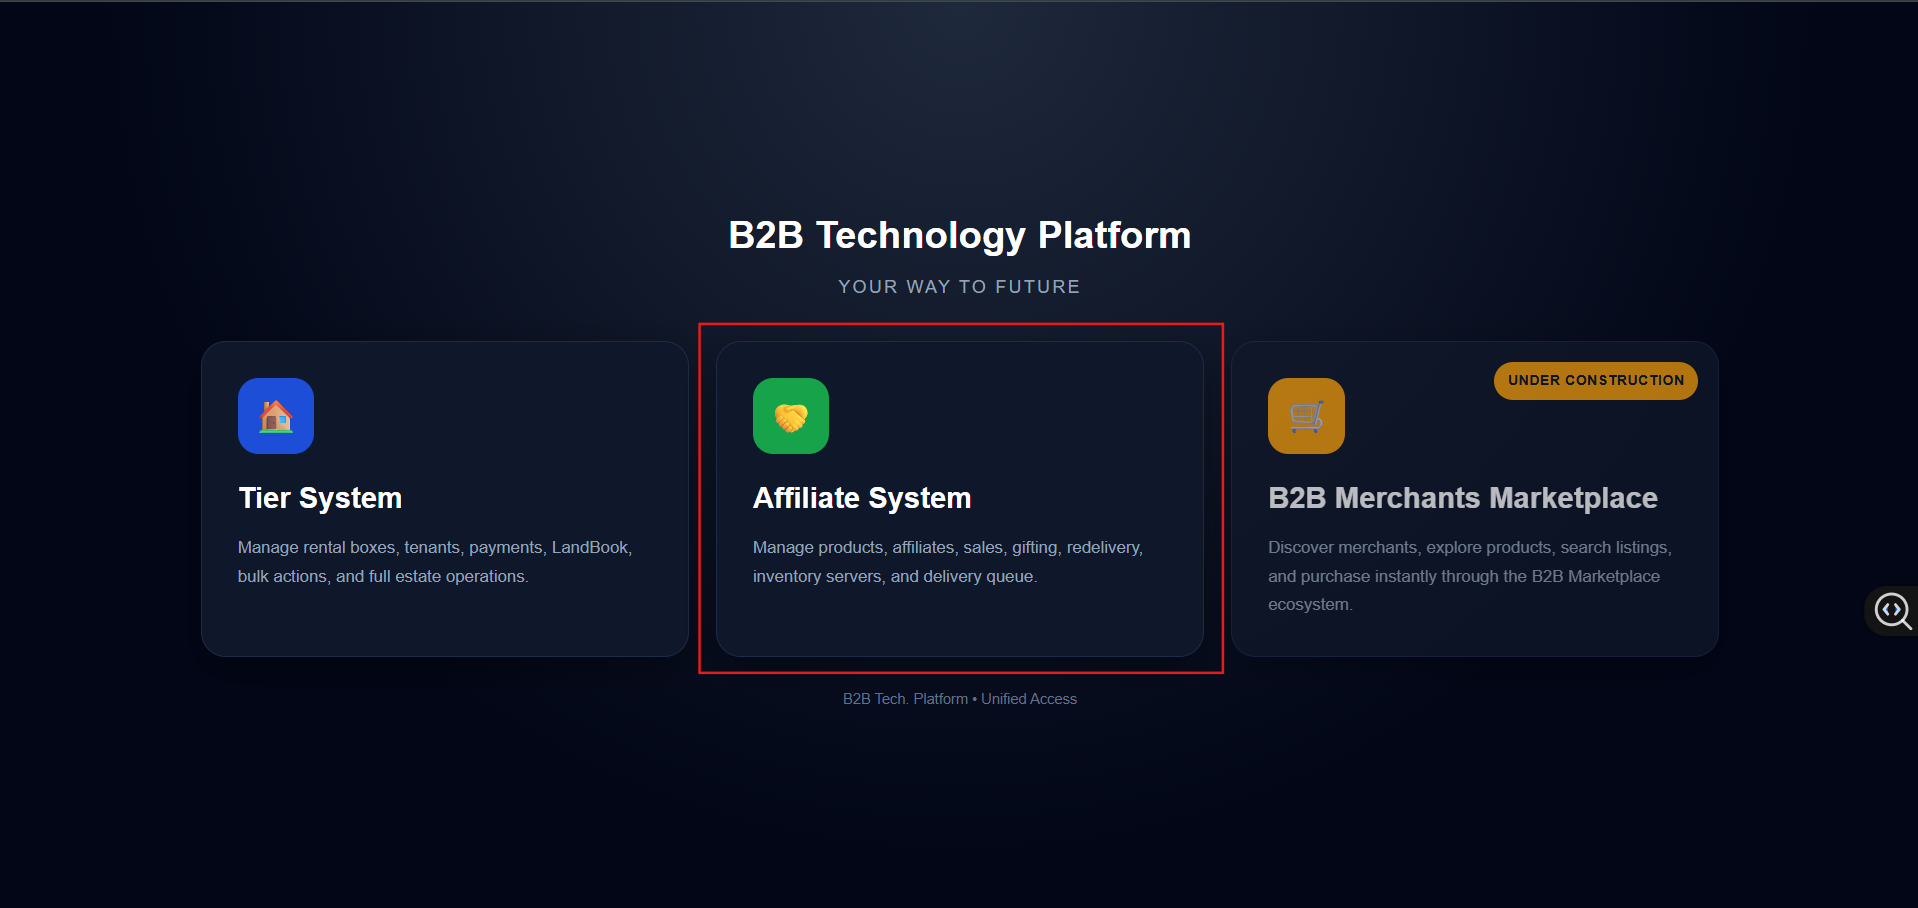
After inworld setup, open the web platform and enter the Affiliate System.
Open B2B Platform
Go to https://b2b-sl.nl/Platform . From the platform screen, choose Affiliate System.
Login
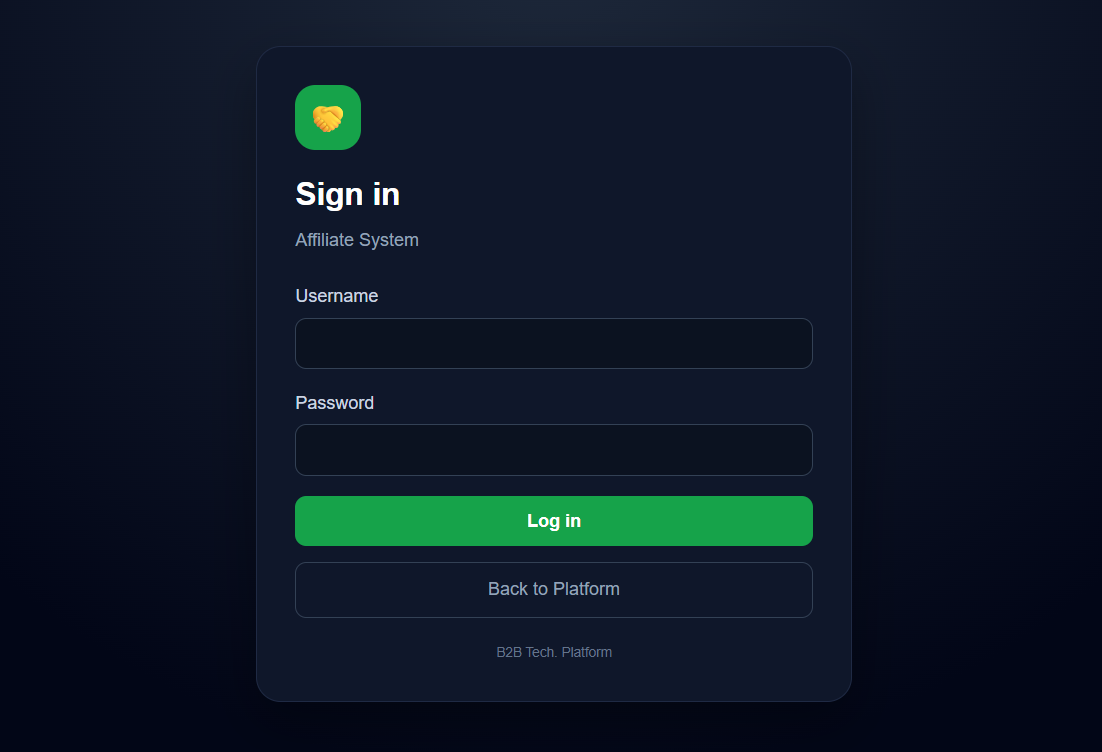
Login using the username and password created from the Registration Kiosk. After login, you will land on the Affiliate Dashboard.
Store Configuration
Configure your public store profile, banner, logo, inworld location and split profit rules.
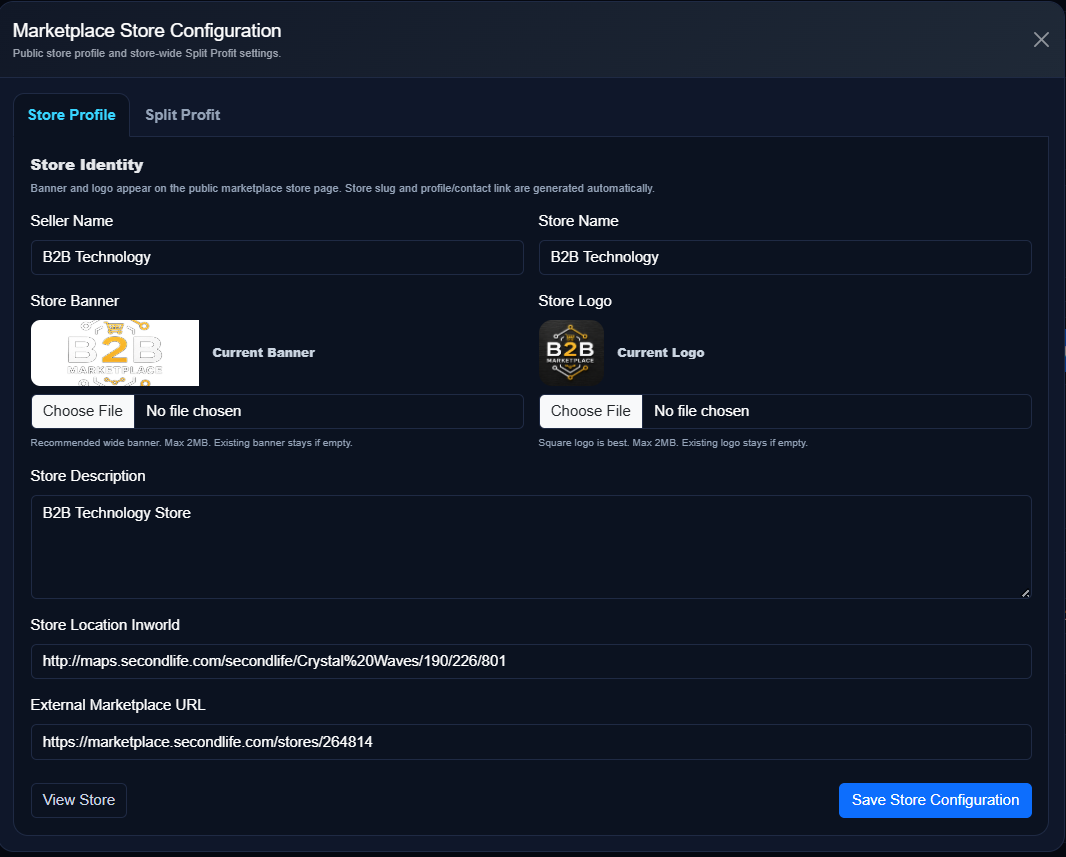
Store Profile
Click Store Configuration. Add your seller name, store name, banner, logo, description, inworld location and external marketplace URL.
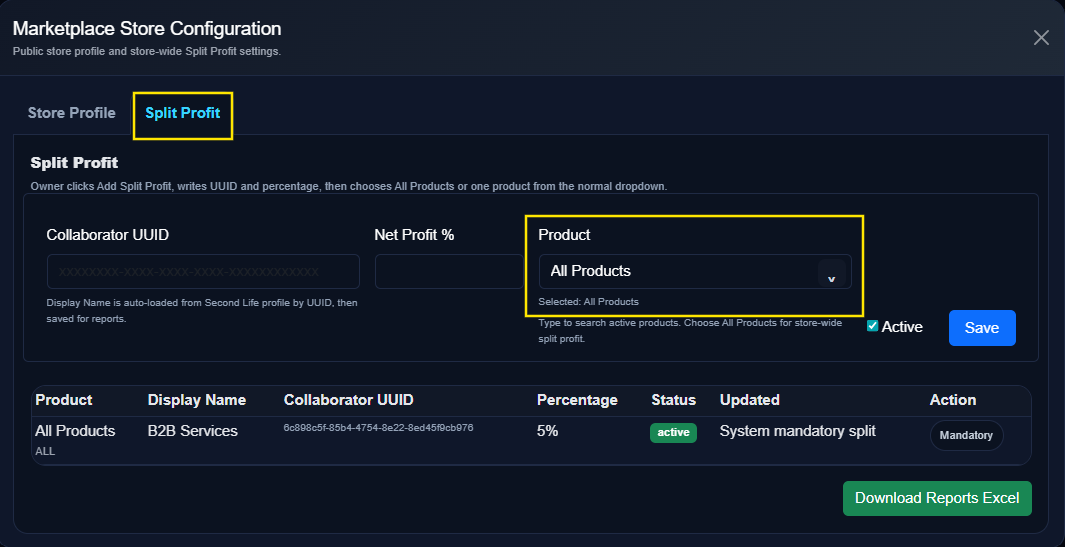
Split Profit
Use Split Profit when you need to share net profit with collaborators. Enter collaborator UUID, percentage, product selection, then save.
Add Products
Create products and connect them to synced inventory items from your Central Inventory Server.
Open Add Product
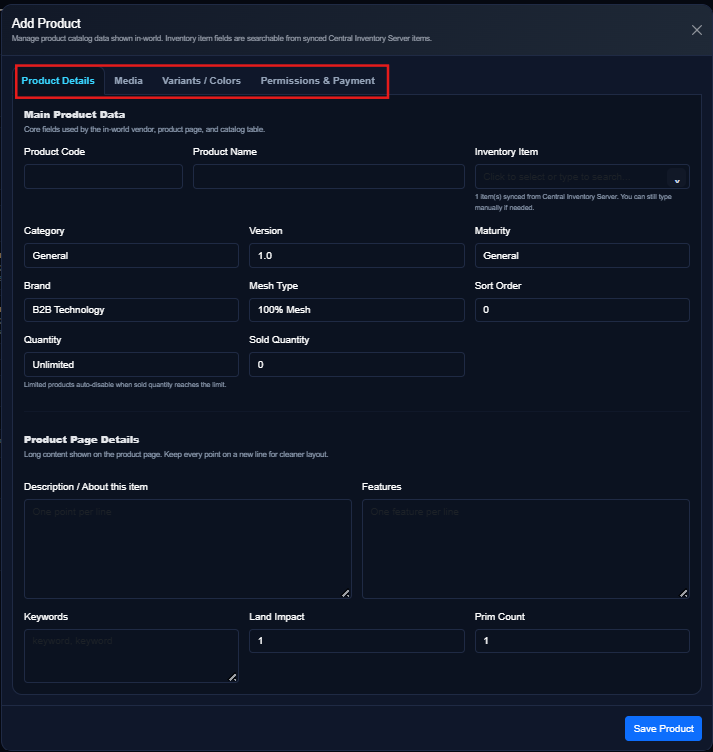
From the Affiliate Dashboard, click + Add Product. The product popup contains multiple tabs.
Product Details
Fill product code, product name, category, version, maturity, brand, quantity, description, features, keywords, land impact and prim count. Select the inventory item synced from your Cloud.
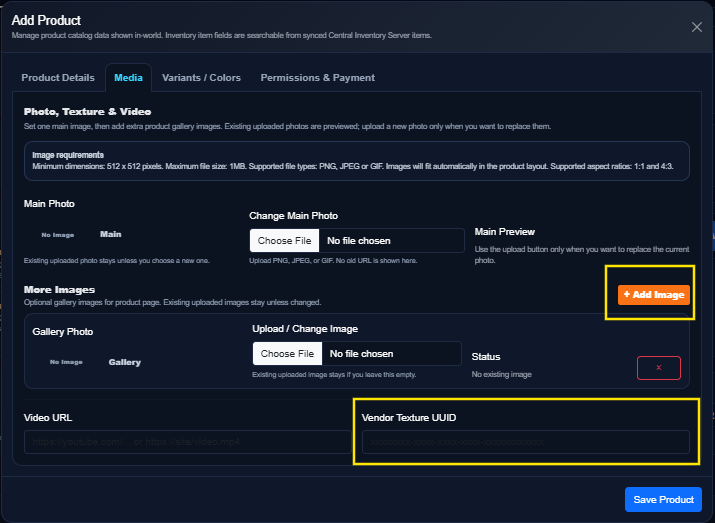
Media
Upload the main product photo and gallery photos. You can also add video URL and vendor texture UUID for inworld vendor display.
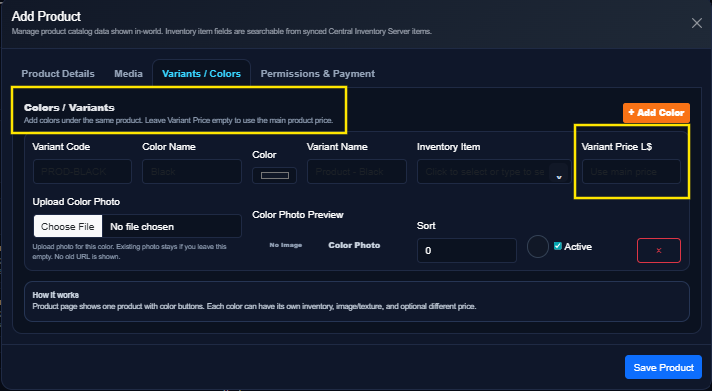
Variants / Colors
Add colors or variants if the product has multiple versions. Each variant can have its own image, inventory item and optional different price.
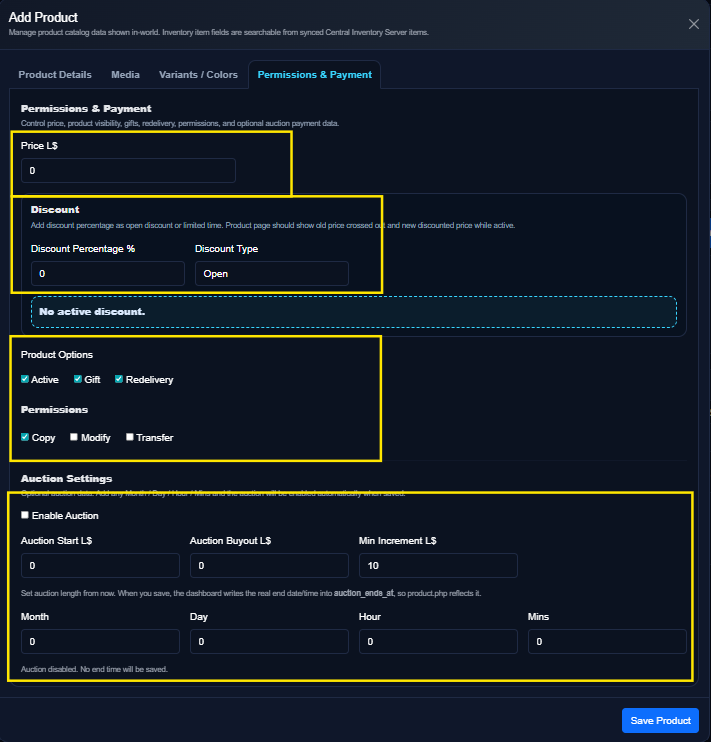
Permissions & Payment
Set price, discount, active status, gift option, redelivery, permissions, and auction settings if needed.
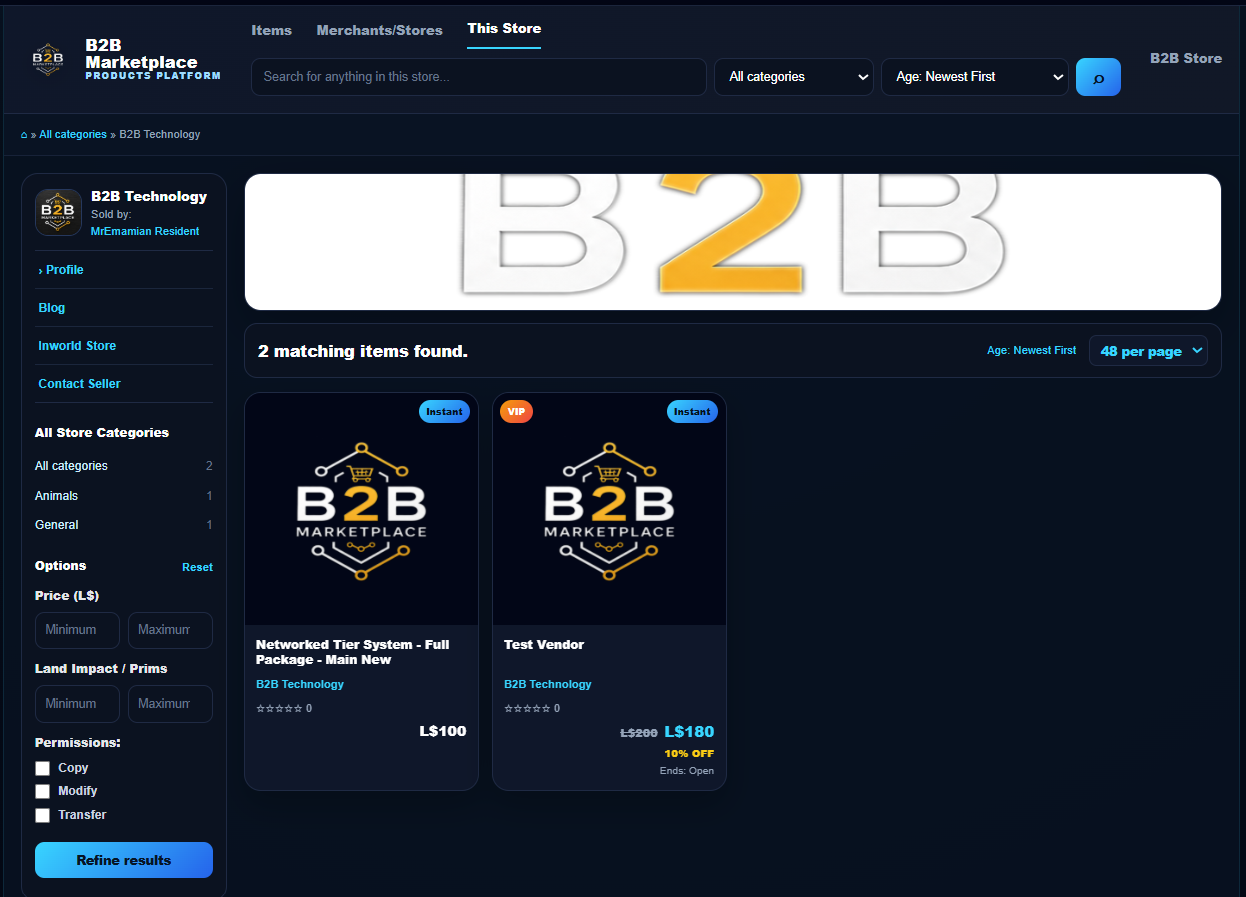
View Store
After saving products, click View Store to confirm products appear correctly in the public marketplace store page.
Sales, Delivery & Reports
Monitor purchases, gifts, redelivery requests, delivery queue and exported reports.
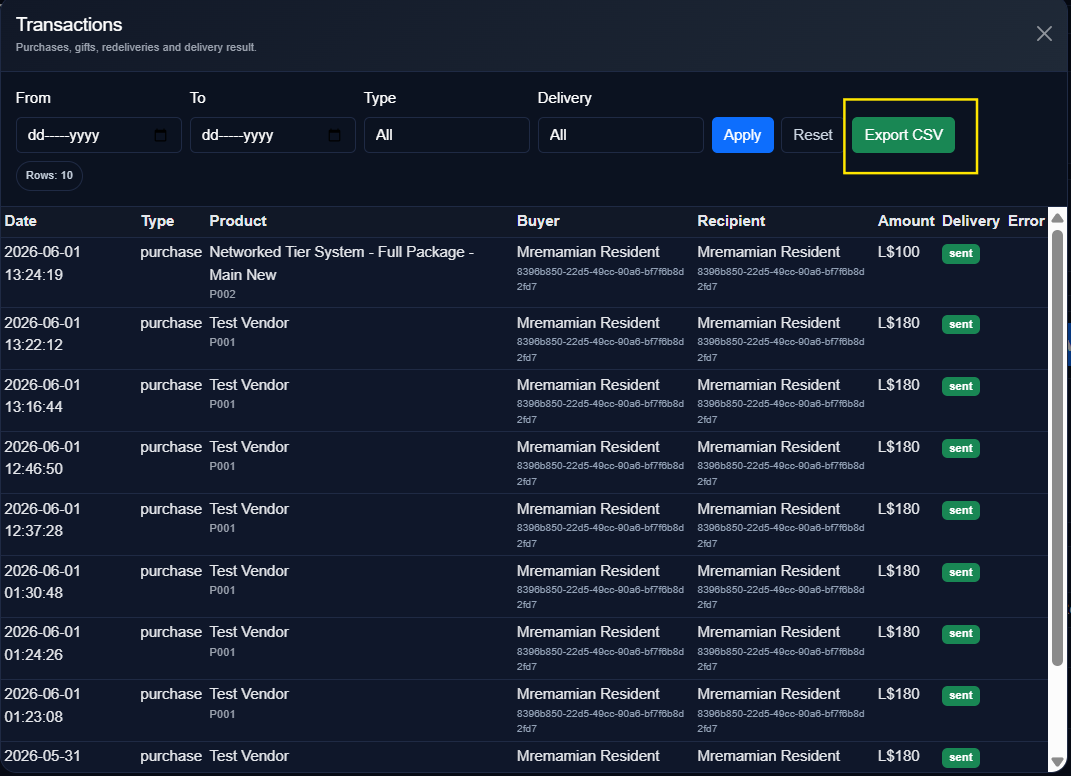
Transactions
Use Transactions to view purchases, gifts, redeliveries and delivery result. You can filter by date, type, delivery status, and export CSV.
Delivery Queue
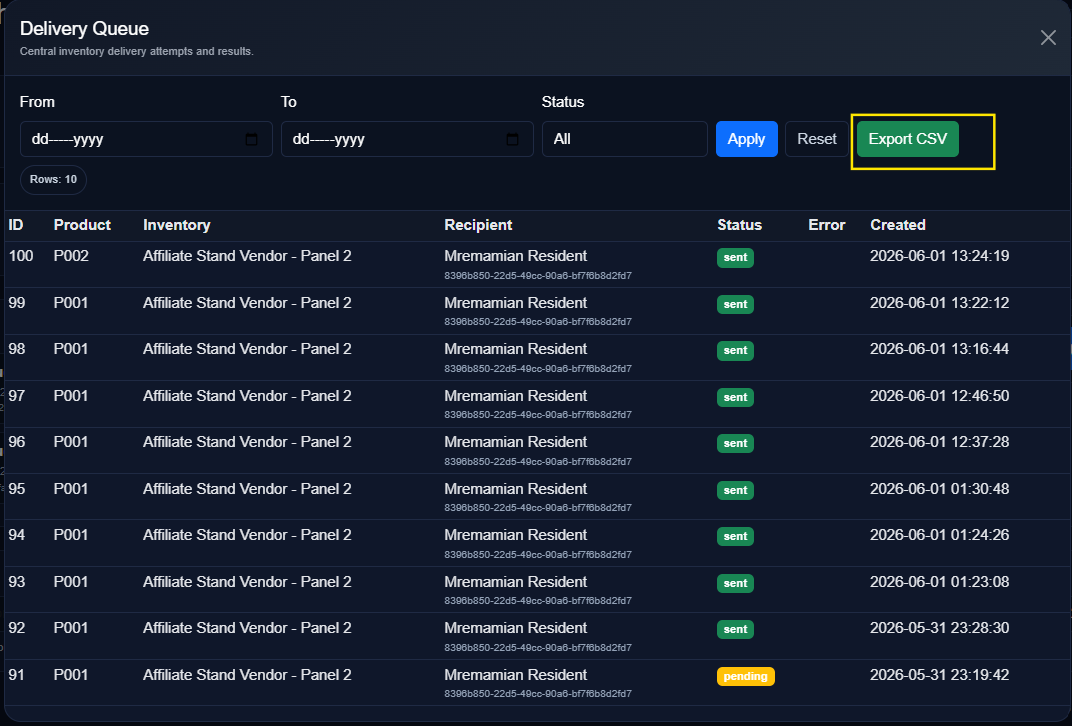
Use Delivery Queue to check central inventory delivery attempts. Status can show sent, pending, or failed with error details if any.
Managers
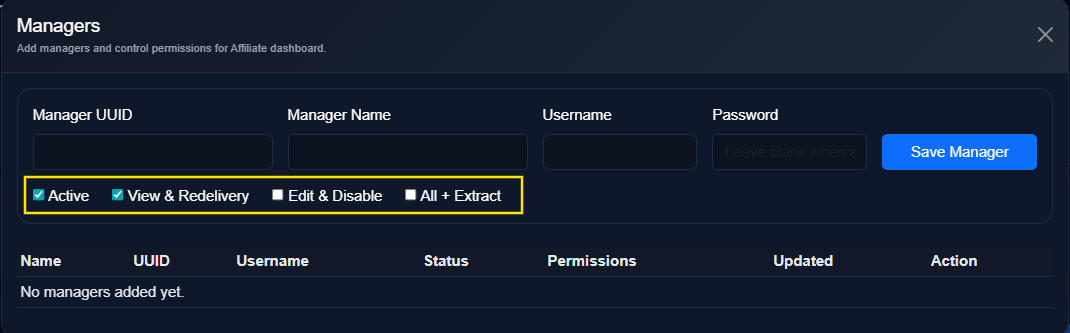
Add managers and control what they can access: View & Redelivery, Edit & Disable, or All + Extract.
Recommended Final Test
Before sharing your store publicly, complete one test purchase: product page → payment vendor → delivery → transaction record → delivery queue status.